using the indexes to find liberty county deed records
This guide explains how to find digitized deeds and mortgages from the Liberty County, Georgia, Superior Court records, using the digitized indexes. Both the indexes and the records are available on FamilySearch.org and Ancestry.com.
Note that the digitized records only go up to 1920, but the index goes to 1958. If you find a record in the index after 1920, you will need to contact the Liberty County Superior Court to find the record.
This guide will teach you to find the indexes in any county’s records BUT I have already done this for Liberty County. Find my guide with links to all the indexes created by the court HERE.
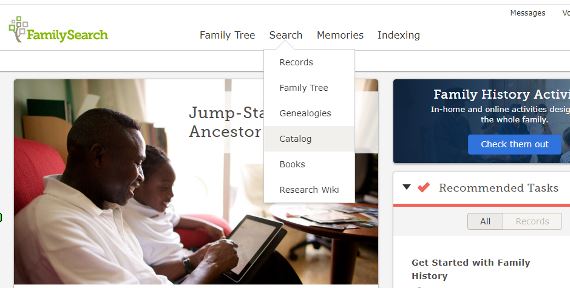
Since FamilySearch.org is free, we will use its records for the examples. You only have to create a free user account at FamilySearch.org to use all their records. Once you have created the account, sign in, then click on “Search” -> “Catalog.”
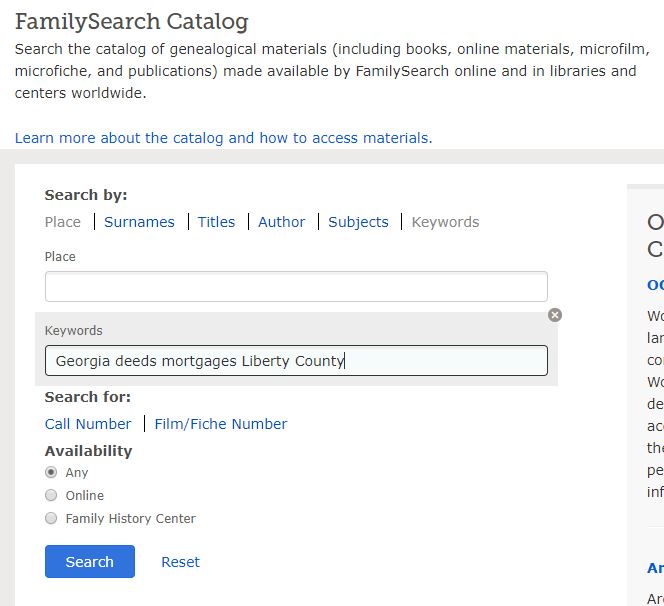
Click on “Keywords,” and enter the search terms: “Georgia deeds mortgages Liberty County.” Click on “Search.”
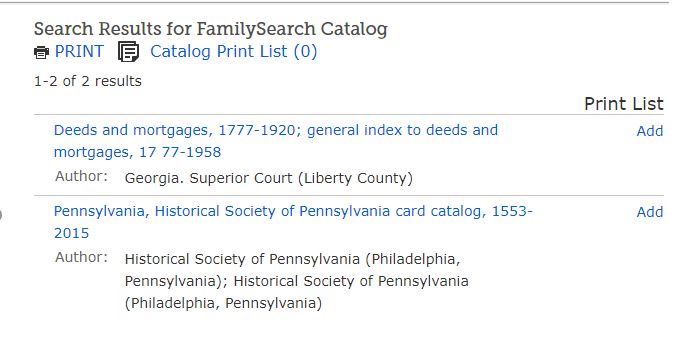
The screen below will appear. Click on “Deeds and mortgages, 1777-1920; general index to deeds and mortgages 17 77-1958, Author: Georgia. Superior Court (Liberty County).”
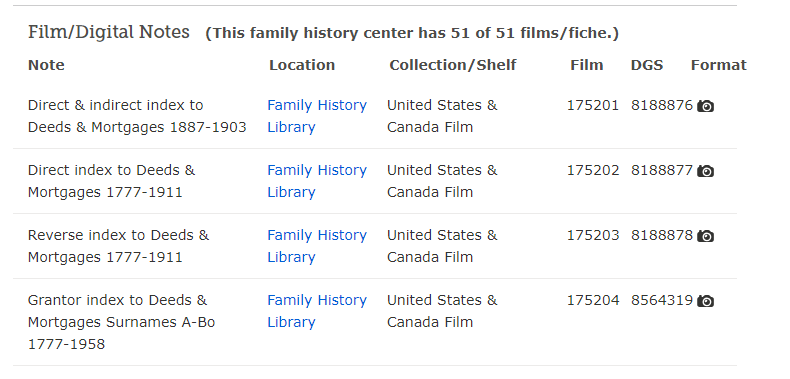
Now you should see a screen with that title. Scroll down, and you should see a list that starts like this:
You can view the documents in each batch by clicking on the little camera icon to the right of each. (If there’s a camera beside a record set, it means the record set has been digitized and is viewable online. Otherwise, it hasn’t been digitized yet.)
The first link is a direct (by seller) & reverse (by buyer) index to the records for 1887 to 1903, and the next two are the direct and reverse indexes for 1777-1911. They’re alphabetized by the first letter of the last name, and then within each letter, they’re organized by record book (which puts them in chronological order). The Court organized the records into record books, which are named alphabetically in chronological order (so Book A contains the earliest records).
Let’s work through an example of using the index to find a record. Click on the camera beside “Direct index to Deeds & Mortgages 1777-1911.”
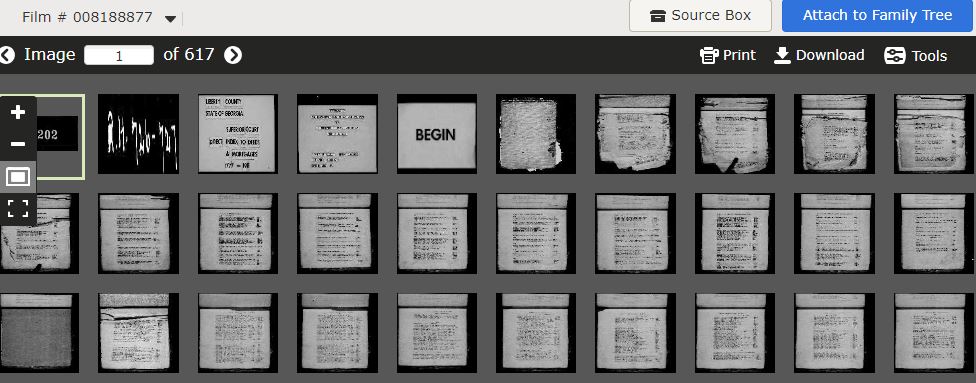
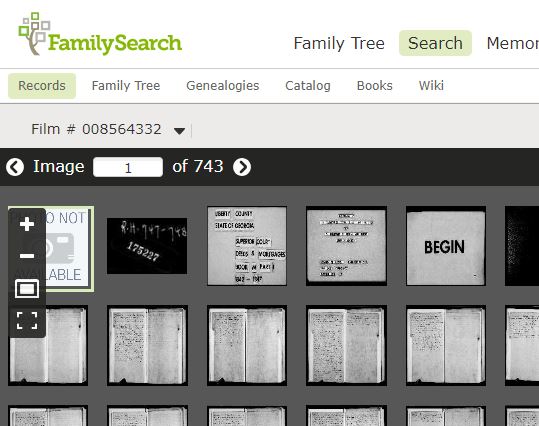
A ‘thumbnail’ image of each page in the index will appear.
Note that the very first image has a yellow box around it, and at the top you will see “Image 1 of 617.” Each set of documents like this will have a few pages at the beginning that give information about what was digitized. You can “jump” to any image (page) in the index by clicking on the thumbnail, or you can click on the first image and use “next” arrows to page through the index.
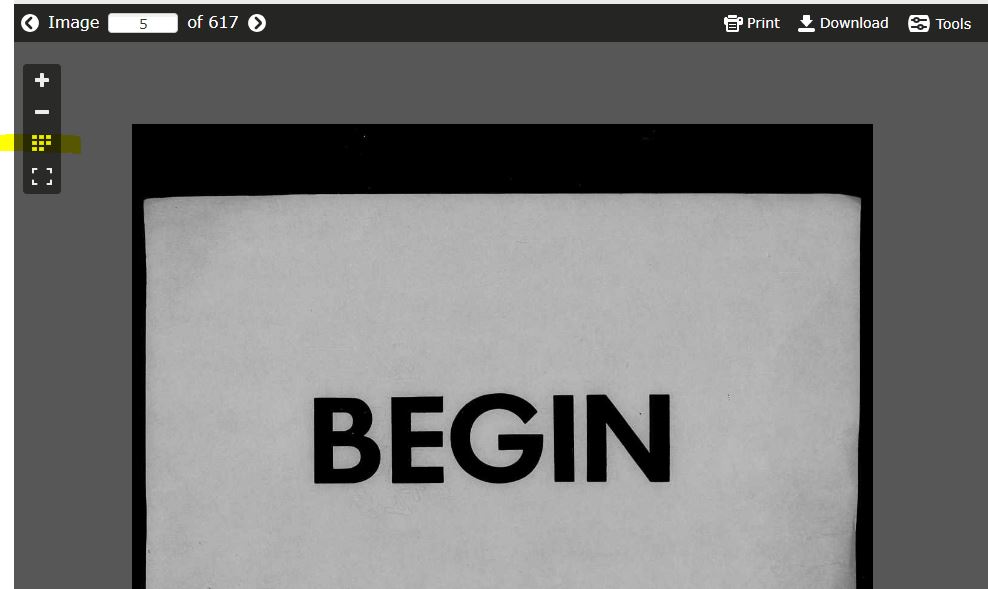
Let’s click (double-left-click) on the thumbnail that says “Begin” in large letters. You should then see the full image. The little vertical menu on the left allows you to zoom in (+) or zoom out (-). The highlighted icon (with the 8 little squares) allows you to return to the screen with all the thumbnails so you can “jump” to another image, or you can use the right and left arrow keys by the page number to page forward or back. Left-click on the right arrow key (to the right of “617”) to go to the next page.
You will now be on image 6 of 617, and you’ll see a copy of the front cover of the index book. Left-click the right arrow again to go to image 7. [Important Note: The image number represents only how many images are in the digitized batch of records; it does NOT correspond to the page number in the printed book. You can find those at the top of the image page. This is an important distinction, as the index will give you the page number, NOT the image number, and you will have to find the page number by in the Record Book by trial and error (described later).
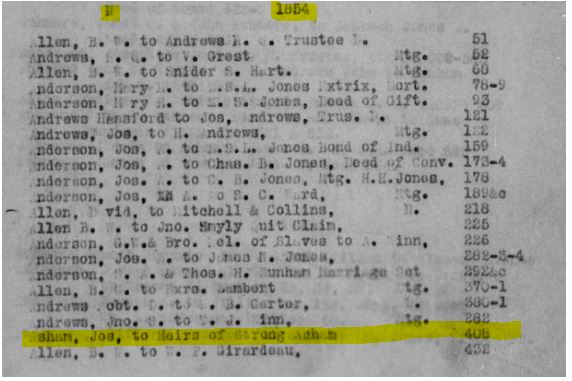
After you move to image 7, you will see the image below. Note the highlighted letter “N” at the top left. That is the Record Book these records will be found in. 1854 is the year of the records. The highlighted line says, “Asham, Jos. to Heirs of Strong Asham 408.” This is the record we are now going to try to find. This line also illustrates an important point: this index is only as good as the person who typed it up, who is human and made mistakes. This record is actually for my ancestors, and their surname was Ashmore, not Asham. So think about possible misspellings and typos, and cast a wide net while you are searching for records.
[At this point, before we look for a specific record, you may want to page through the index to familiarize yourself with how it is organized.]
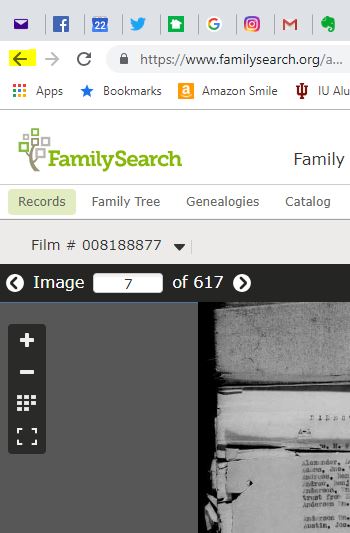
To find this record, we need to note the Record Book (N), the page number (408), and the names (Jos. and Strong Asham [Ashmore]). Now click the back arrow on your browser (see the highlighted arrow below), not the left arrow beside “Image.” (We are going to return to the list of records to find Record Book N.)
Scroll down the list (past the Grantor and Grantee Indexes, which are indexes to each individual Record Book) to find “Deeds & Mortgages, v. M-N 1842-1854.” Left-click on the camera icon to the right of it.
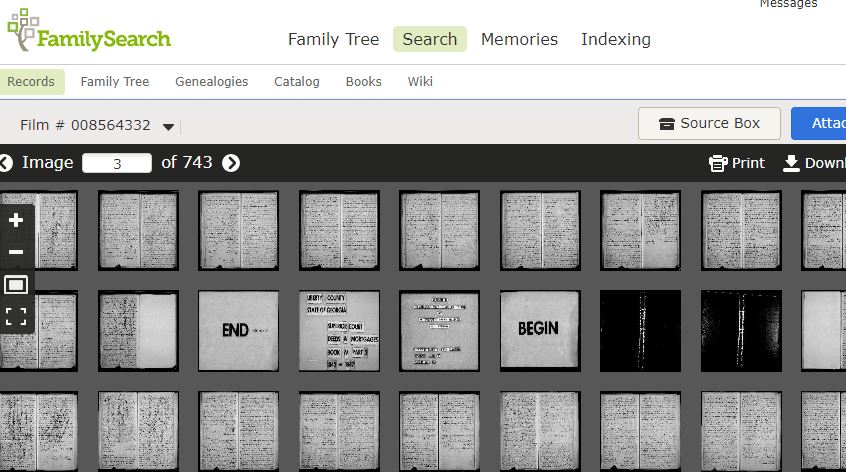
This will take you to a thumbnail listing like the previous one we looked at. Note that there are 743 images in this record set, but remember that the title showed that it included both Record Books (v. is for Volume) M and N. Those two record books were digitized together and the 743 images here include both. So how do we find Record Book N, page 408?
See that thumbnail that says “Begin”? And how the two images right before it look like titles? That is the beginning of Record Book M. Try clicking on one of those images to confirm that, then click on the little icon with the eight squares in the vertical menu to return to the thumbnail view, just to practice. Now, back at the thumbnail view, use your middle mouse button to scroll down through the thumbnails. Keep going until you see these “End” and “Begin” images. You might think this should be the beginning of Book N. However, if you double-left-click on the image after the “End” image, you’ll see that it’s actually Book M, part 2. So you need to return to the thumbnail list, and keep scrolling down.
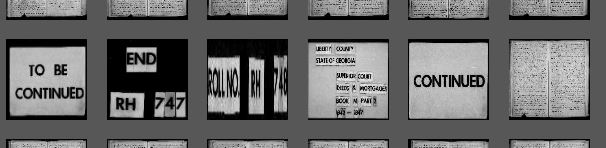
You’ll come to this “To Be Continued” image. Double-left-click on the image before the “Continued” image, which appears to have a title, and you’ll see that it’s a continuation of Book M, Part 2. So we’re still not at Book N. Return to the thumbnail list and keep scrolling down.
Finally, we come to another set of “Begin” and “End” images. If you double-left-click on the image after the “End” image, you’ll see the title is Book N, Part 1. Now we need to find page 408. We know that “Part 1” implies there is a “Part 2” so the easiest way is to return to the thumbnail list and continue scrolling until you find either a “Continue” image or a “Begin” image. In this case, it will be a “Begin” image, signalling the beginning of Part 2.
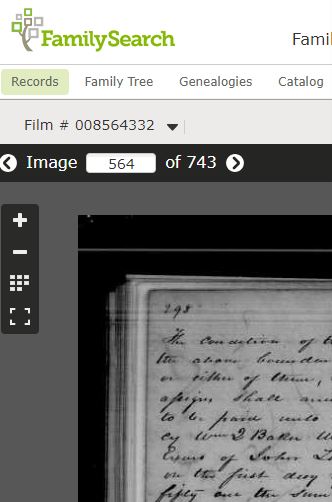
When you find it, double left click on the image before the “End” image to see what page Part 1 ends on. In this case, you will see it is page 298 (handwritten in the upper left corner of the handwritten page), indicating that page 408 must be in Part 2.
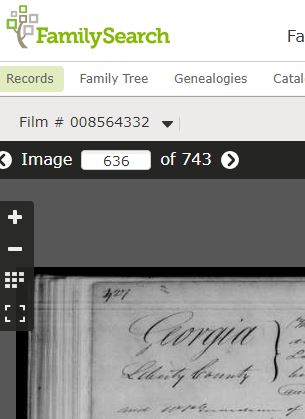
Return to the thumbnail list. With two pages to an image, we can calculate that page 408 must be about 55 images ahead. You can scroll down roughly that number of images, and click on any image to see what page it is. When I did that, I found it was page 427. I could see that I was on image 636 of 743.
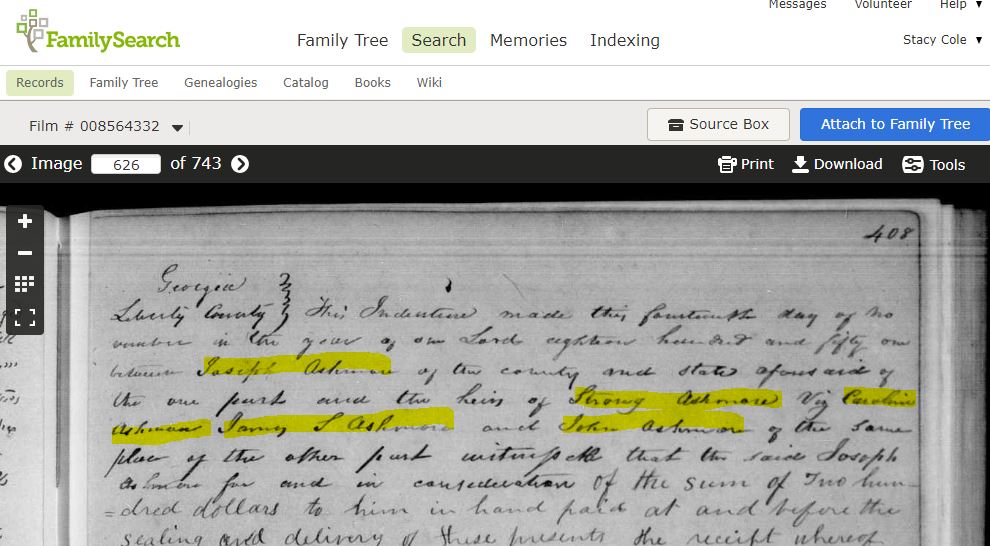
I know that page 427 is 19 pages from page 408, and there are two pages to an image, so I need to go to image 626 to find page 408. Type 626 over 636 and press Enter (or Return). If this does not bring you to exactly the right image, use the right or left arrow keys to get to page 408.
We’ve arrived. This is a land sale between Joseph Ashmore and the heirs of Strong Ashmore. (Remember that the index misspelled the surname as Asham.) You will see options in the upper right to print or download the image. (Remember that you may have to go to the next image to find the remainder of the document.)
Once you have finished this document, click on the “back” arrow of your browser (not the left arrow for the images) to return to the Index listing and look for your next record. Page through the different indexes to see how they’re organized and remember to think about typos. Happy hunting!